Now Reading: Travel Insurance for Trekking in Nepal: What Actually Counts in 2026
-
01
Travel Insurance for Trekking in Nepal: What Actually Counts in 2026
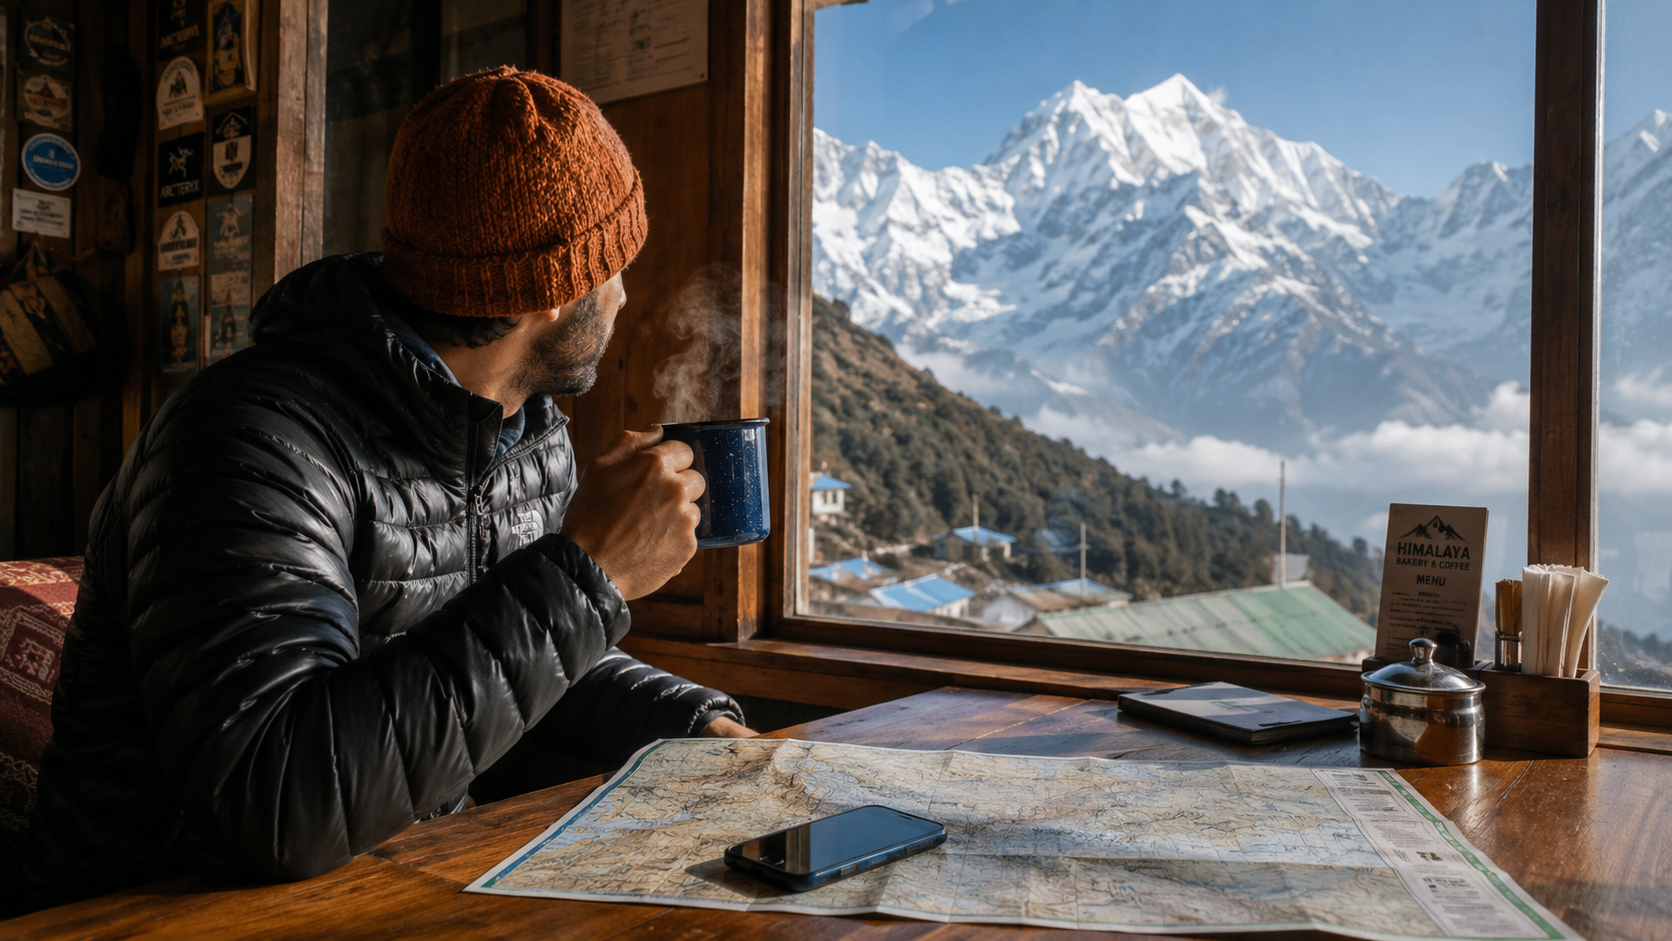
What your Nepal trekking insurance must cover in 2026: helicopter evacuation, altitude limits, checkpoint rules, and the gaps that catch trekkers out.
There is one document that trips up more Nepal trekkers than any other, and it is not your visa or your permit. It is your insurance. Most people sort their flights months ahead, agonise over boots for weeks, then buy a travel insurance policy in a rush the night before they fly, ticking a box without reading a single line of it. In 2026, that habit can stop your trek before it starts, or leave you holding a five figure bill you never saw coming.
This is the honest version of what your insurance needs to do in Nepal, why the rules tightened, and how to dodge the gaps that catch people out. No scare-sell, just what actually counts.
Is travel insurance really mandatory for trekking in Nepal?
Short answer: in practice, yes. The longer answer is worth a minute of your time, because the wording is where people get tangled.
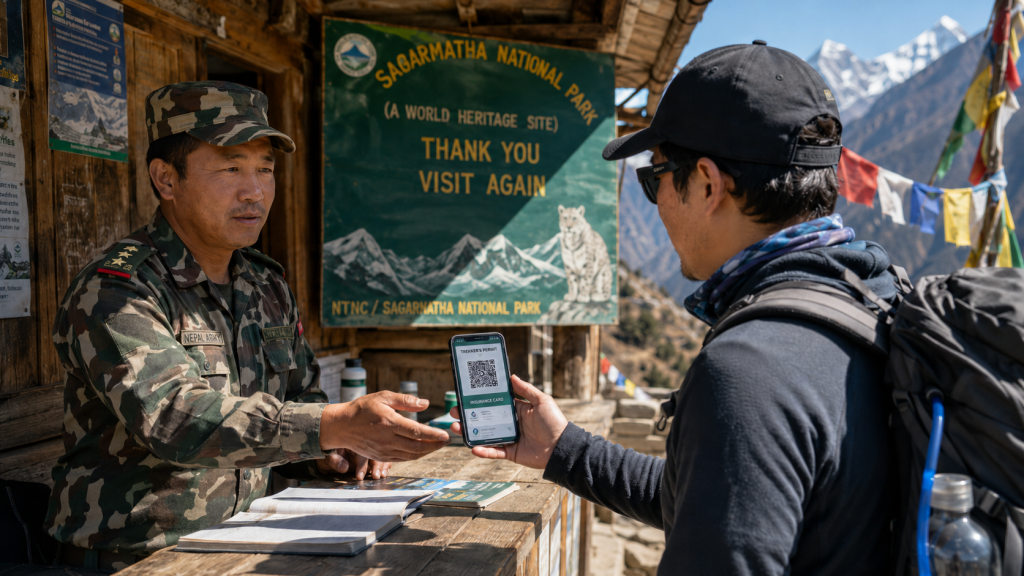
There is still some debate about whether a single national law forces every trekker to hold insurance. What is not in debate is how it plays out on the ground. Since the permit system went digital, your cover is checked when your permit is issued, and again at checkpoints along the trail. If your policy does not clearly show helicopter evacuation cover to the altitude you are heading for, you can be refused a permit or turned back at a control point. Restricted areas like Manaslu, Upper Mustang, and Dolpo are stricter still: a registered agency simply will not submit your permit application without proof of evacuation cover, and reputable operators everywhere now refuse to start a trek without it.
So you can forget the legal hairsplitting. Whether it is law, regulation, or agency policy, the outcome on the trail is identical. No valid cover, no trek. Treat it as non-negotiable and you will never be the person arguing at a permit desk while everyone else heads for the hills.
Recommended Read: No More Solo Trekking: Everything You Need to Know About Nepal’s 2026 Trekking Rules
Why the stakes are so high
Nepal’s trails climb through some of the most remote terrain on the planet. When something goes wrong at altitude, there is often no road, no ambulance, and no quick way down. A helicopter is frequently the only option, and it is not cheap.
A rescue from the Everest region runs somewhere between $3,000 and $7,000 for the flight alone. From above 5,000 metres it climbs higher, and from trekking-peak altitudes it can pass $10,000. Add a few days in a Kathmandu hospital and the total can climb well beyond that. Here is the part that genuinely surprises people: in many cases the helicopter will not lift off until payment is confirmed. Without insurance, that means your own card, in the moment, before you are flown to safety.
And the need is far more common than first-timers expect. Altitude sickness affects roughly one in three trekkers above 4,000 metres in some form. Most cases are mild and pass with rest and patience, but its serious forms, fluid building on the lungs or swelling in the brain, can turn dangerous quickly and demand immediate descent or evacuation. The Khumbu region alone sees hundreds of rescues every season. This is not fear talk. It is simply the arithmetic of walking high and a long way from help.

What your policy must actually cover
This is where most off-the-shelf policies quietly let you down. A standard travel insurance plan usually stops covering you somewhere between 3,000 and 4,000 metres. Nearly every classic Nepal trek goes higher than that. Here is what to check, line by line.
Altitude, and enough of it
Your policy needs to cover the highest point of your route, with margin to spare. Everest Base Camp sits at 5,364 metres, and the Kala Patthar viewpoint above it reaches 5,545. The Thorong La pass on the Annapurna Circuit is 5,416. Aim for cover to at least 6,000 metres, so a weather delay or a change of plan never quietly pushes you past your limit. If the policy caps at 4,000 metres, it is the wrong policy, however cheap it looks.
Helicopter evacuation and emergency medical
These are the two clauses that matter most. You want explicit helicopter rescue cover to your trek’s altitude, plus emergency medical treatment with a meaningful limit, ideally in the range of $100,000 to $200,000. Check whether the insurer pays the rescue company directly or expects you to pay first and claim it back later. Direct billing is a great deal less stressful when you are unwell at 4,800 metres and your card is the last thing you want to be thinking about.
The word “trekking” in black and white
Read how your policy describes your activity. Many insurers separate trekking, which is walking on established trails, from mountaineering, which involves ropes, crampons, or ice axes. Teahouse routes like Everest Base Camp and the Annapurna Circuit are trekking, but the policy has to say so, and at the right altitude band. If your activity is not named and covered, a claim can be denied no matter how much you paid for the plan.
Trip cancellation, interruption, and the Lukla problem
Cover for cancellation and interruption is not just a nice extra in Nepal. Flights to Lukla, the gateway to Everest, are among the most weather-disrupted in Asia, and delays of several days are routine at the edges of the seasons. If a storm strands you, or illness ends your trek halfway, interruption cover protects the money already sunk into permits, guides, and flights.
The fine print that bites
Watch for an evacuation-specific deductible, often around $500, sitting separately from your normal excess. Declare any pre-existing conditions honestly, because an undisclosed one is the classic reason a large claim collapses at exactly the wrong moment. And keep this in mind: if you trek without the correct permits or a licensed guide, your insurer can refuse the evacuation claim outright, on the grounds that you were breaking the rules when it happened.
How much should this cost?
Here is the reassuring part. Proper high-altitude trekking cover for a two week trip typically lands somewhere around $100 to $200, depending on your age, your nationality, and your route. Set that against a single evacuation bill and it becomes one of the best-value decisions you will make on the entire trip. The travellers who try to shave $50 by buying a basic policy are quietly gambling thousands. Do not be that person.
A quick, honest note: some of the links below are affiliate links. If you buy a policy through one of them, we may earn a small commission at no extra cost to you, and it helps keep this site running. We only point to cover we would actually use ourselves.
Where to buy it: abroad or in Kathmandu
You have two broad routes, and both of them work.
International providers
Buying before you fly, from a provider in your own country, is the most common approach and usually the smoothest if you ever need to claim once you are home. World Nomads is one of the most widely used names among adventure trekkers, partly because it covers most nationalities and can be bought even after you have left home. Other established options include IMG Global, Global Rescue, and Allianz, while UK trekkers often look at the British Mountaineering Council policies, which are built specifically for mountain activities. Whichever you choose, do not assume the headline plan is enough. Open the policy document and confirm the altitude limit, the evacuation clause, and that trekking is named at your altitude. Tiers change, and the difference between two plans from the same insurer can be the difference between covered and stranded.
Nepal-based options
A newer route is to buy locally. Nepal-based insurers such as Himalayan Guardian Nepal have become popular with budget trekkers because they are designed around exactly these rules, often offer direct billing with the rescue operators, and can be arranged in Thamel within about a day. The trade-off is that they tend to focus on evacuation and medical cover rather than the fuller suite of cancellation and baggage protection you might get from a comprehensive international policy. For some trekkers, a local evacuation policy paired with a basic international travel policy turns out to be the sweet spot.
This is general information to help you ask the right questions, not financial advice. Cover, limits, and rules change often, so always read the current policy wording yourself and confirm the details directly with the provider before you buy.
The mistakes that cost trekkers the most
A few patterns come up again and again, and every one of them is avoidable.
Relying on a credit card policy. These almost never cover helicopter rescue above 4,000 metres. Assume yours does not, unless it says so in writing.
Buying on altitude alone and ignoring the activity wording. A policy can cover 6,000 metres and still exclude trekking if you do not select the right add-on.
Leaving it to the last minute. Some policies take a day or two to activate, and you may need the document in hand before your permit is issued. Sort it before you fly, not in the taxi to the airport.
Skipping the paperwork on the trail. Carry a copy of your policy, the emergency assistance number, and your policy reference, both on your phone and on paper. At altitude, with patchy signal, that printout earns its place in your pack.
Your pre-departure insurance checklist
Before you board, confirm that your policy:
- covers the highest altitude on your route, ideally to at least 6,000 metres
- includes helicopter evacuation and spells out the rescue process
- lists “trekking” as a covered activity at that altitude
- carries emergency medical cover of at least $100,000
- includes trip cancellation and interruption
- states the deductible, including any separate airlift excess
- is active before your permit application and your flight
Sort it now, then forget about it
Here is the lovely thing about getting your insurance right: once it is done, you can stop thinking about it entirely. You walk into the permit office without a flutter of worry. You climb toward the pass knowing that if the worst happens, someone is coming and the bill is already covered. That quiet confidence is what lets you actually look up at the mountains, instead of down at your own anxieties.
So before you obsess over your boots or rearrange your packing list one more time, give your policy twenty honest minutes. Read the altitude clause. Check the evacuation cover. Make sure trekking is named. Then book it, save the document to your phone, and go meet the Himalaya with nothing on your mind but the trail ahead.
Recommended Read: How to Get a Nepal Visa & Trekking Permits: A Complete Guide for Visitors and A Step-by-Step Guide to Preparing for Your Trip to Nepal.
Related Posts
Stay Informed With the Latest & Most Important News
Previous Post
Next Post
Previous Post

Next Post
- Travel Insurance for Trekking in Nepal: What Actually Counts in 2026
- Where to Stay in Kathmandu: A Neighbourhood Guide for Every Kind of Traveller
- What to Pack for Trekking in Nepal: The Complete Layering System and Gear Guide
- Paragliding in Pokhara: Everything You Need to Know Before You Fly
- May in Nepal: The Last Window Before the Monsoon